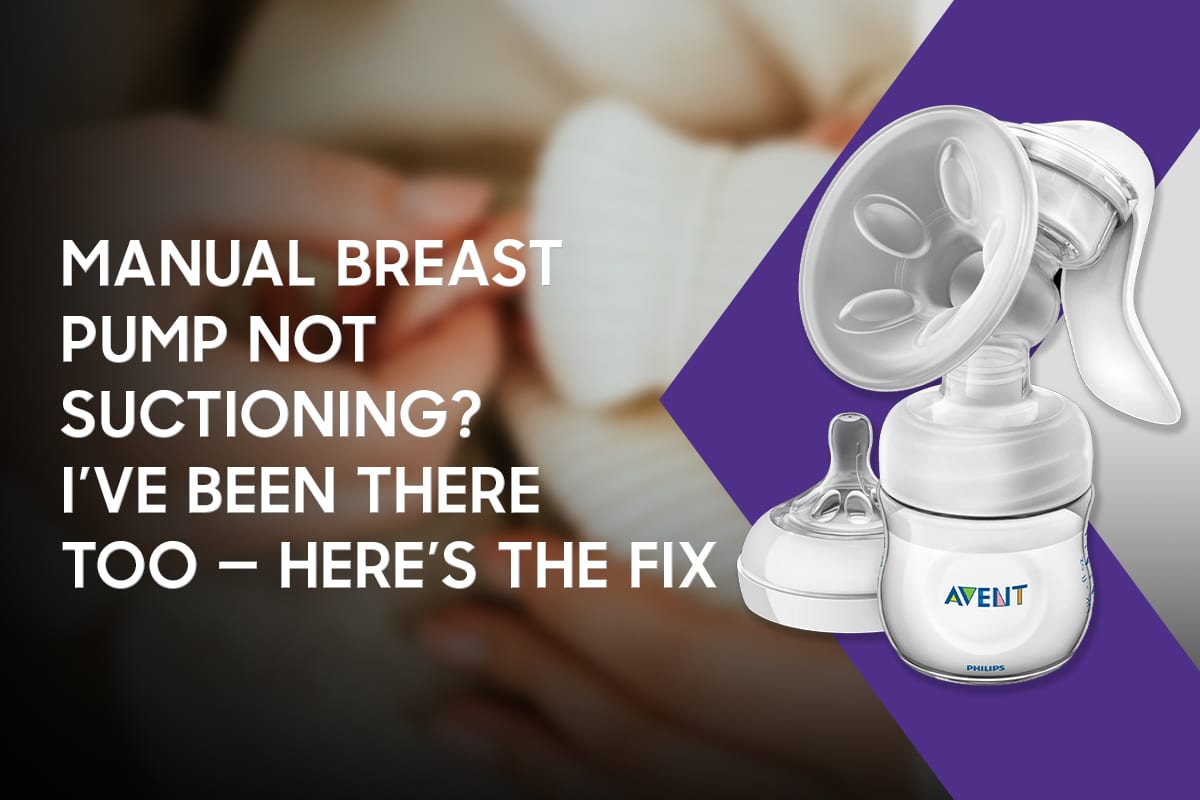
When your manual breast pump is not suctioning, it can instantly trigger stress—especially when you’re depending on it during a busy day. The comforting truth is that most suction problems come from small, fixable issues like incorrect assembly, worn membranes, or a tiny air leak. I’ve faced the same frustration before heading out and realized that a few quick checks can fully restore suction.
After helping many new moms troubleshoot pump problems (and fixing my own multiple times), here is a clear, practical breakdown to help you get your pump working again with confidence.

Common Reasons Your Manual Breast Pump Loses Suction
A manual breast pump works like a simple vacuum system. If even one part is out of place, the suction disappears. These are the most common reasons based on real usage experience:
1. Worn or damaged valves and membranes
The valve flap controls milk flow. If it becomes stiff, torn, or stretched, suction drops immediately.
2. Incorrect assembly
A single misaligned part can create an air leak. This is one of the top causes of low suction.
3. Loose or cracked connections
Hairline cracks in the connector, handle, or pump body often cause gradual suction loss.
4. Missing or dried-out silicone parts
Old silicone parts lose flexibility, making suction inconsistent.
5. Wrong flange size
If the flange doesn’t fit your nipple properly, it can feel like the pump isn’t working—even if parts are fine.
Quick Troubleshooting: Fix Manual Breast Pump Low Suction Fast
If your manual breast pump is not suctioning, try this 5-minute checklist:
Check the valve and membrane:
Replace if you see tears, stiffness, discoloration, or stretching.
Reassemble the pump correctly:
Remove each part, dry them, and reconnect carefully (follow the guide below).
Inspect all seals and connections:
Ensure every part clicks, twists, or seals tightly.
Dry all silicone parts completely:
Damp membranes stick and fail to create proper suction.
Check the flange fit:
If your nipple rubs the tunnel or too much areola is pulled in, adjust the size.
Quick reference chart
| Symptom | Likely Cause | Quick Fix |
| No suction at all | Misassembled parts / torn membrane | Reassemble + replace membrane |
| Weak suction | Valve or membrane worn | Swap in new valve/membrane |
| Suction cuts in/out | Loose joints | Tighten each connection |
| Hard to squeeze | Blocked valve or stiff parts | Clean and replace worn silicone |
| Squeaky or sticky | Damp membrane | Dry fully before reassembly |
Manual Breast Pump Assembly Guide (Step-by-Step)
Incorrect assembly is one of the biggest reasons for suction loss. Here’s a simple, reliable guide:
- Insert the valve into the pump body
Make sure the flap hangs freely and isn’t stuck to the sides. - Attach the membrane
It should sit flat and flexible—no folds or tears. - Connect the breast shield
Twist or press firmly until it locks in place. - Attach the handle mechanism
Ensure the hinge sits properly, creating a full seal. - Check the bottle connection
If the bottle isn’t seated correctly, air may leak from the bottom.
Pro tip:
If the pump squeaks or feels uneven while squeezing, disassemble and rebuild the handle section again. A tiny misalignment often causes leakage.
Understanding Breast Pump Valves and Membranes
Valves and membranes are the heart of suction production. They control airflow, vacuum pressure, and milk flow.
What happens when they wear out?
- Poor suction
- Milk leaking back into the body
- Membrane sticking instead of flexing
- Pump becomes noisy
When to replace them:
- Membranes: every 2–4 weeks
- Valves: every 1–3 months
- Faster replacement if pumping frequently
Cheap or thin valves from third-party brands may lose flexibility faster, while better-quality silicone lasts longer. Always check for stiffness or small tears.
Deep Dive: Troubleshooting Manual Breast Pump Problems
If quick fixes don’t work, inspect each part individually:
1. Handle and Seal
If the handle is loose or the internal seal isn’t tight, suction collapses. Rebuild the handle assembly carefully.
2. Pump Body
Look for:
- Micro-cracks
- Loose threading
- Warped plastic
Even a tiny crack can reduce vacuum strength.
3. Diaphragm
If your pump uses a diaphragm:
- It must sit perfectly flat
- Edges must seal evenly
- Any gap allows air escape
4. Flange Fit
A wrong-size flange often feels like a broken pump.
- Too small = pain + friction
- Too large = weak suction + areola pulled in
Measure nipple diameter and match with the closest flange size for optimal performance.
Maintenance: Keeping Your Pump Reliable and Suction Strong
Daily care
- Clean pump parts in warm soapy water
- Rinse well
- Air dry completely before reassembling
Weekly deep clean
- Boil small silicone parts for 5 minutes
- Or use steam-sterilizing bags
Replacement reminders
Set reminders for valve/membrane replacements so suction doesn’t fail unexpectedly.
Why dryness matters:
Moist, sticky silicone blocks airflow and reduces vacuum pressure.
When to Replace Parts or the Pump Entirely
Replace individual parts if:
- Membrane torn
- Valve stiff
- Handle squeaks
- Suction inconsistent
Replace the full pump if:
- Plastic body is cracked
- Handle joint broken
- Multiple parts worn simultaneously
- Suction does not return after full troubleshooting
Manual pumps are inexpensive—so replacing them is sometimes more practical than repairing.
When to Seek Extra Help
If your pump works but milk output is low, the issue may be:
- Flange sizing
- Pumping schedule
- Breast fullness
- Technique
- Latch history
A lactation consultant can help verify technique and positioning.
If the pump seems defective, contact the brand’s customer support for replacement parts or warranty service.
Final Thoughts: Restoring Suction and Confidence
Most manual breast pump suction problems are simple to fix—misaligned parts, worn membranes, or small air leaks. With proper assembly, routine maintenance, and timely replacement of silicone parts, you can avoid almost all suction-related issues.
Take a few minutes to inspect your pump, follow the guide above, and you’ll be able to restore suction quickly and pump comfortably again.
The following article are related to breast pump.
Medela Hand Pump Not Working Made Me Anxious Until This
Medela vs Lansinoh Manual Pump: My Honest Struggle
FAQs: Manual Breast Pump Not Suctioning
Why is my manual breast pump losing suction?
Usually because of worn valves, stretched membranes, or incorrect assembly.
How do I fix low suction in a manual breast pump?
Replace the valves/membranes, reassemble correctly, ensure parts are dry, and tighten all seals.
Does flange size affect suction?
Yes. The wrong flange size can make suction weak or painful.
Can I replace parts of a manual breast pump?
Yes. Most brands sell replacement valves, membranes, and flanges. Replacing worn parts quickly restores suction.